Tuesday, June 25, 2013

Sassy Scrapper- True Romance Gift Box

Hi There!

 Today I'm sharing one of my fav collections to be released latetly on the Sassy Scrapper blog. I am a total sucker for shabby chic collections especially when the color combo is pastel pink, seafoam green & white. DROOL!!!!!!!

There are so many gorgeous images to fussy cut with beautiful roses, birds & tags & the Collectables pack is really stunning!

I have created a Gift Box with this collection. I hope you enjoy it!


I haven't used much paper for this project. Just 2 sheets of the Day Dream paper, a tag from the Sweetheart perforated tags sheet & a fussy cut image from the Lovestruck paper 


The Prima flowers Tatiana Coral match this collection beautifully


I mixed lot's of collectables with some ribbon & the Tatiana flower

Products Used
Kaisercraft True Romance Day Dream Paper
Kaisercraft True Romance Sweetheart Perforated Tags paper
Kaisercraft True Romance Lovestruck paper
Kaisercraft True Romance Collectables
Prima Tatiana Coral flowers
Prima Chalk Ink Pastel Pink
Organza Ribbon
Lace


You can find Kaisercraft True Romance in the shop here

Thanks for looking! 

Have a great day!

Monday, June 24, 2013

Sweet like you

Hi There!


 It’s Winter in Australia & it’s getting so dark & cold. I miss Summer already & needed to add some brightness to my day!
I have made a little card to put in my card stash for all the school kids’s parties that seem to be never ending at the moment! I like to keep a bunch on hand because I’m really not super organised with that kind of stuff & I’m generally running around at the last minute trying to find wrapping paper & a card to go with the present!
I have used American Crafts Mayberry collection using the Mapleton Drive sheet for the base cut 6″X6″. I then layered the Mapleton Drive sheet using the reverse side cut 5.5″X5.5″ using E-Z Runner Permanent Strips Refillable Dispenser .
I fussy cut a frame from the Shady Lane sheet & used some 3D Foam Squares White- Regular Size to add some dimension. Even though the Lemon Fizz Cardstock sticker book was self adhesive I still ran some Crafty Power Tape along the back to make sure it didn’t move! I also used the Crafty POwer Tape to stick the string of sequins down.
To stick down the flowers I used some Dodz Medium . I love how quick & easy they stick flowers down! For the Rainbow Splendor felt heart I added some extra support & dimension by layering it on top of a 3D Foam Heart.


E-Z Runner Permanent Strips Refillable dispenser Crafty Power Tape 20' Blister Pack w. Dispenser 3D Foam Squares Regular Dodz Medium 3D Foam Hearts


Products Used
American Crafts Mayberry papers & cardstock stickers & trim
Prima flowers
Rainbow Splendor Heart Embellishment

Thanks for looking!

Tuesday, June 18, 2013

Sassy Scrappers - Time to remember

Hi There!

It's Tuesday so that means it's my turn on the Sassy Scrappers Blog!
I am working with Pink Paislee Hope Chest this month & I'm really enjoying the neutral, vintage theme of this collection.I decided to pull the green from the papers & mixed in some orange/peach colours for something a bit different.

I've used some gorgeous Imaginarium Designs chippies with a mix of blooms


The Time to Remember & Peacock feather chippie are from Imaginarium Designs. To alter these I first coated with gesso. Then I sprayed Heidi Swapp Color Shine Mist in Chartreuse all over feather & Heidi Swapp Color Shine Mist in Georgia Peach on the title. While wet I sprinkled some American Crafts Zing Embossing Powder in Blush & set with a heat gun.

These smaller peacock feathers were altered the same as the larger one. The little cherub was fussy cut from the Butterly Garden collection paper.


I have mixed some Kaisercraft blooms with some Prima flowers, Prima Resin & Prima say it in crystal flourish.

Products Used
Pink Paislee Butterfly Gardens Botanical Gardens
Pink Paislee Hope Chest Keepsakes
Pink Paislee Hope Chest Heirloom
Pink Paislee Hope Chest Ephemera
Prima Flower Akran Natural
Kaisercraft Ivory Ribbon Rose
Kaisercraft Mini Paper Blooms Honey
Kaisercraft Paper Blooms Sage
Kaisercraft Paper Blooms Coral
Prima Resin Treasure Cherub with Bird

You can find Pink Paislee Hope Chest in the shop here

& Imaginarium Designs Chipboard in the shop here

Thanks for looking!


Thursday, June 13, 2013

My Creative Scrapbook June Reveal Limited Edition Kit

Hi There!

Life has been so busy lately! We are painting the inside of our house which has come with some wonderful challenges, namely Evie. She has fallen head first into the paint tray, stood in the paint tray twice & leant against a wall with wet paint ARGH!! Nightmare stuff that makes painting even less fun but we are soldiering on LOL!

I have also re-joined the gym & have embarked on a 12 week Body Challenge so that means extra gym session per week for me. My goal is to lose at least 5 kilos. Wish me luck!!

My Creative Scrapbook have released the kits for June! As always Pam has filled these kits with the best products! Today I am sharing the Limited Edition kit with you.

This kit is full of Crate Paper DIY collection with some Pink Paislee & Prima goodies. This is a really lush kit with a mix of reds, yellow & aqua & Pam has mixed in some gorgeous metal/copper elements into the kit. They are not colours I would chose myself but when I played with them I loved the combination. That is why  I love working with kits so much. You get to play with collections & combinations that take you out of your comfort zone & try something new!


I will be back with the Main kit Reveal very soon!

Take Care XX


Tuesday, June 11, 2013

Sassy Scrappers- Best Friends

Hi There!

My turn on the Sassy Scrapper blog with another Pink Paislee Hope Chest page. Before heading off to Kayla's birthday party I managed to capture a few gorgeous pics of the kids. Evie wasn't in a very co operative mood but I did get some good ones of Kayla & Hunter together!

I have kept the colour palette fairly restrained playing around with the more neutral tones in the collection. There isn't alot to fussy cut in this collection but I did find some flowers & leaves to cut out!


The Hope Chest collection has some amazing background papers with lots of scripts & ledgers. All of the leaves & flowers were fussy cut. I have added some Shimmerz Texturez in Crushed Coral for a pop of colour
 The Ephemera tags come in all shapes & sizes which I have used with a Hope Chest Label Sticker
 The Prima Akran Natural flower matches the Hope Chest collection perfectly

Products Used
Pink Paislee Butterfly Gardens Botanical Gardens
Pink Paislee Hope Chest Records
Pink Paislee Hope Chest Heirloom
Pink Paislee Hope Chest Treasures
Pink Paislee Hope Chest Ephemera
Pink Paislee Hope Chest Label Stickers
Prima Flowers Conventry Tranquill
Prima Flower Akran Natural
Kaisercraft Classic Latte Pearl Flourish
Kaisercraft Ivory Ribbon Rose
Shimmerz Texturez Crushed Coral

You can find Pink Paislee Hope Chest in the shop here

Thanks for joining me today!

Friday, June 7, 2013

Scrapbook Adhesives by 3L- Happy Birthday Card Tutorial

Hi There!
I have a tutorial on making a layered shabby chic Birthday Card on the Scrapbook Adhesives by 3L blog
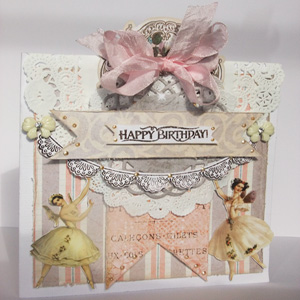
I have chosen some girly papers & products with the idea of making a pretty card for a young girl. I am using Prima Fairy Belle collection with a collection of Scrapbook Adhesives by 3L!
Start by cutting a piece 6″X12″ from white cardstock & fold in half so that you have a 6X6″ square card base.
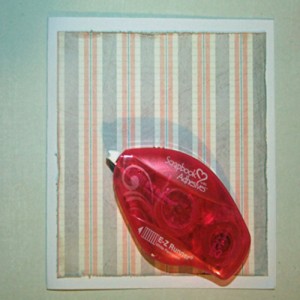
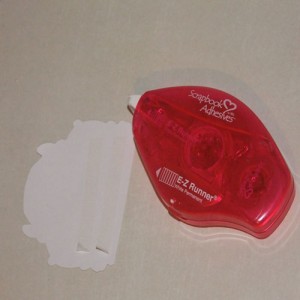
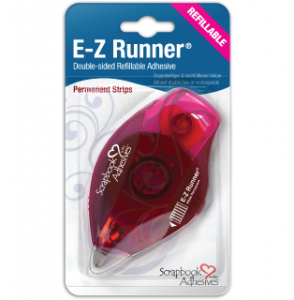
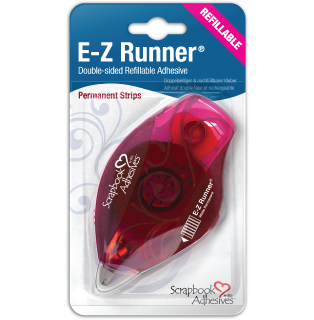
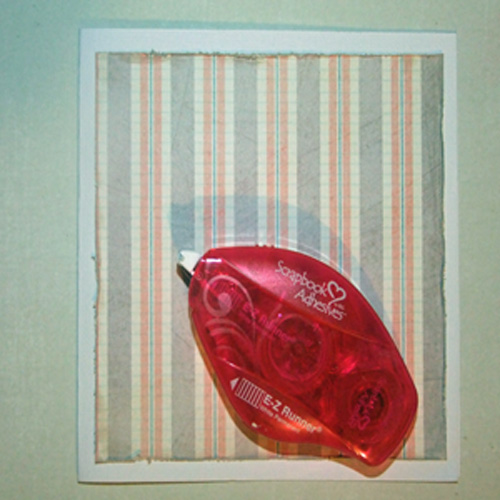
Cut Fairy Belle in Firefely 5.5X5.5″ & distress & ink the edges. Run the E-Z Runner Permanent Strips Refillable around the edges of the firefly piece & stick to white card base.

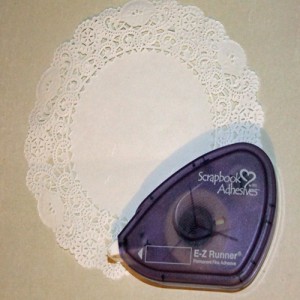
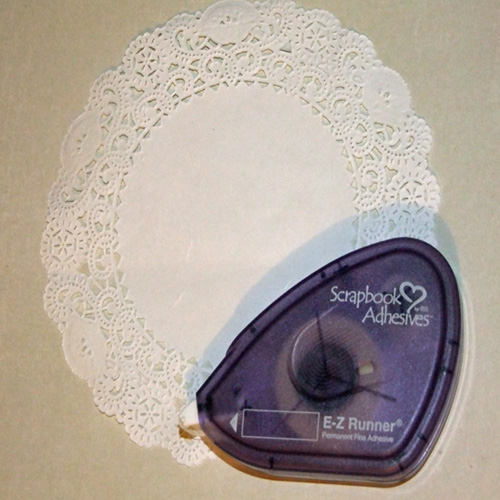
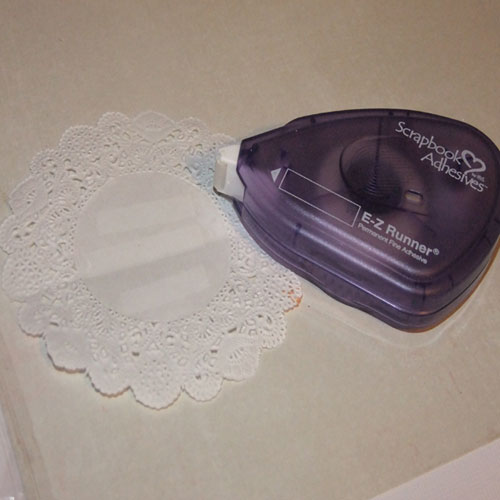
Use a Medium size White doily. Apply E-Z Runner Permanent Fine Adhesive to half of the doily. As the doily is quite a thin paper the E-Z Runner Permanent Fine Adhesive is a much finer, lighter texture tape so it won’t show through the paper of the doily.

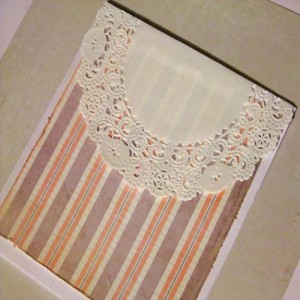
Stick the doily to the top/centre of the card with half the doily folding over the back of the card

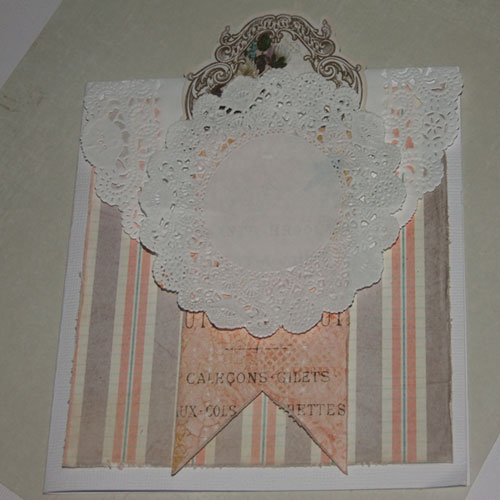
Cut a Fairy Belle Notecard in half. Use the E-Z Runner Permanent Strips Refillable & apply to the bottom half only

Stick the notecard top/centre of doily with about 1/4 overlapping the top edge.
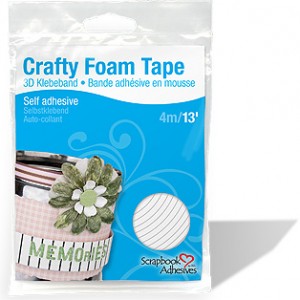
Cut La Spa sheet 2X5″ Pendant. Place Crafty Foam Tape along edges. I prefer to use the Crafty Foam Tape for larger pieces

Use a small white doily & apply E-Z Runner Permanent Fine Adhesive in centre. Again I’m using the E-Z Runner Permanent Fine Adhesive on the doily as the paper is more delicate & the tape in the E-Z Runner Permanent Fine Adhesive is quite fine & will not show through

Stick the doily over the top of the pendant join

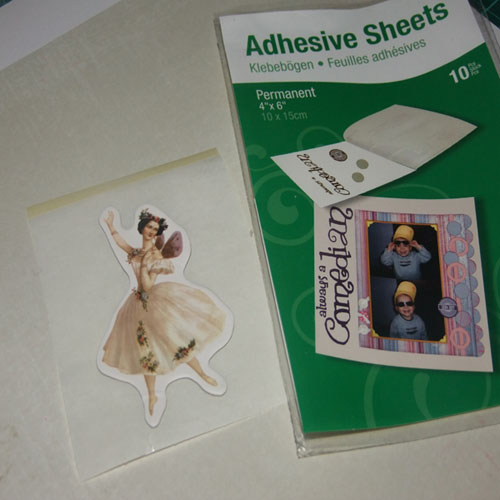
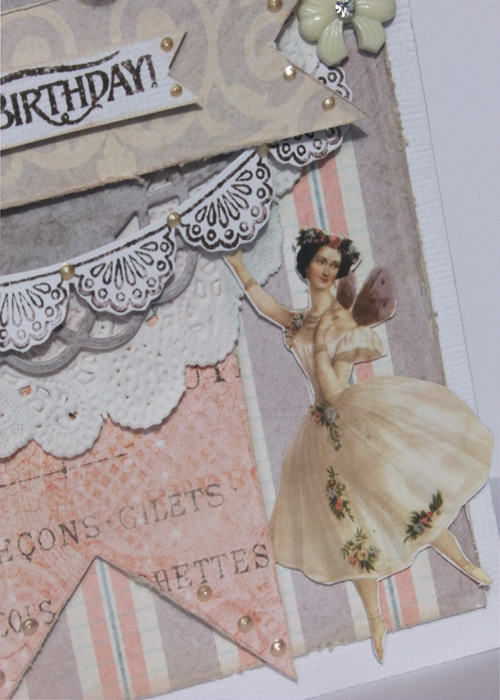
Take the Fairy Belle Chipboard piece Ballerina Fairy. I don’t like the white around the edges & prefer more detail so I am going to fussy cut it. Use a craft knife to split it in half

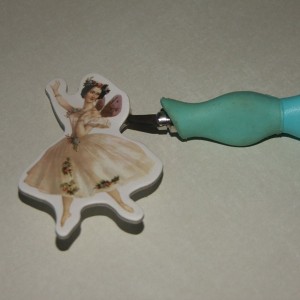
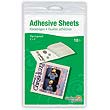
Once the chipboard piece has been fussy cut the image is very delicate with very thin areas. It is quite hard to stick down so I find this the most effective way. Use Adhesive Sheet 6″X4″/10CMX15CM. Take 1 sheet & cut in half. Remove yellow release liner. Stick the chipboard piece down (good side facing up). Fussy cut around the chipboard image. The Adhesive sheet now fully covers the chipboard piece even in the tiny intricate places!

Repeat this process with a second Fairy Ballerina Chipboard piece. Stick either side of pendant
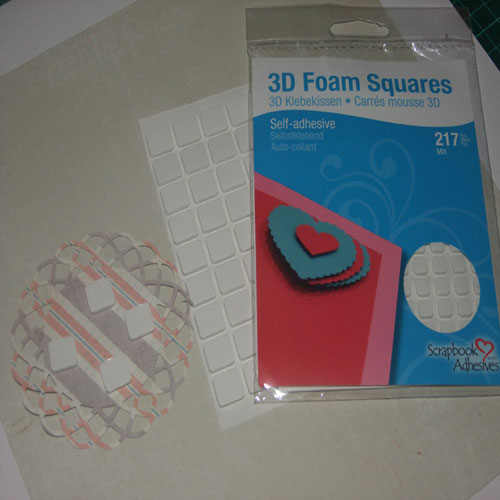
Die Cut a Spiral Circle from Fairy Belle Firefly using the grey side
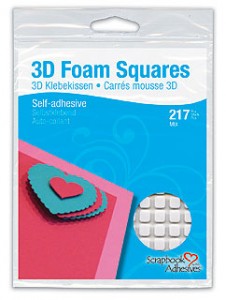
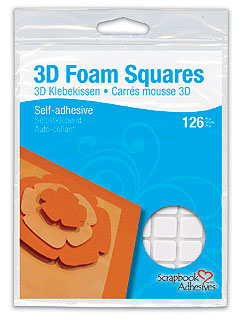
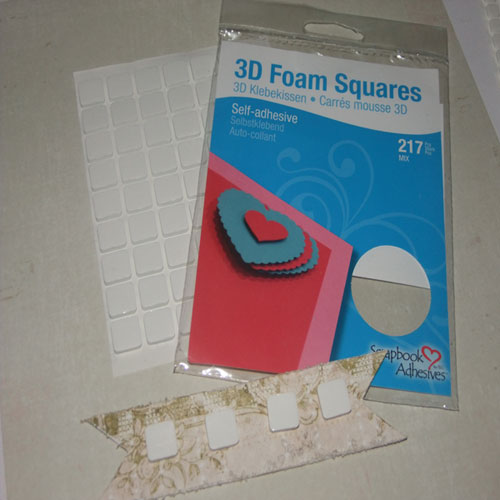
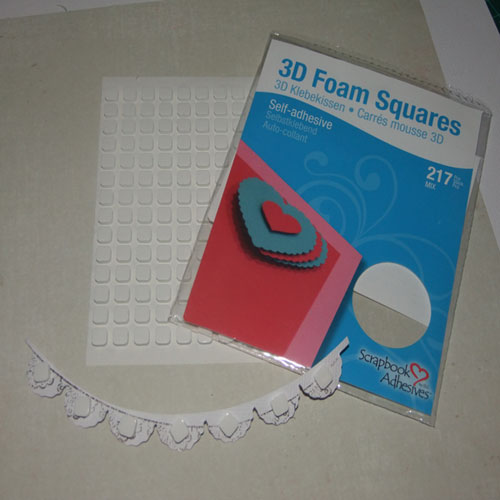
Use 3D Foam Squares-White Variety Pack. I love this pack as it has a mix of large & smaller size foam squares. Use the larger size & apply to the back of the die cut

Cut 5X1 1/4″ piece from Fairy Belle Summer Dream. Distress & Ink edges. Use 3D Foam Squares-White Variety Pack again using the larger size in the pack. Apply to back of pendant

Stick on top of die cut spiral circle
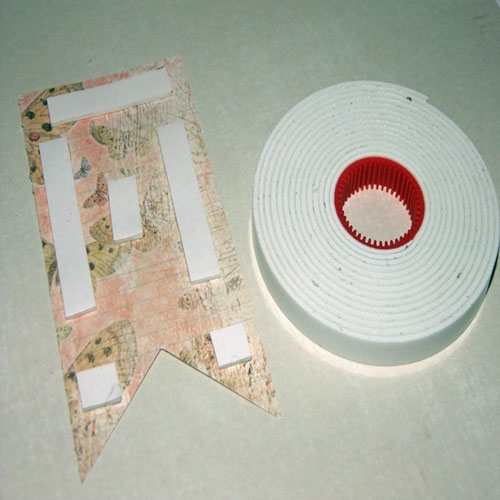
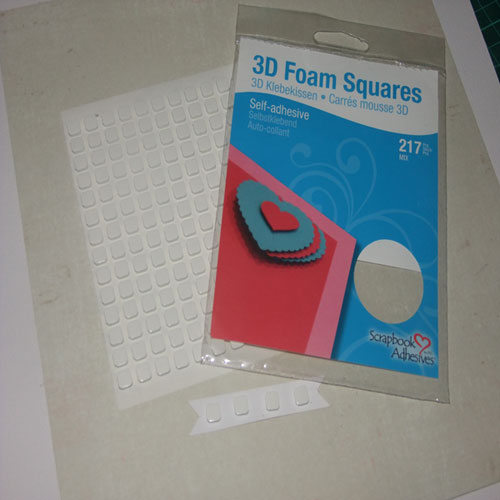
Use some scrap white cardstock. Stamp a banner in Brown ink. I have used Just Rite Clear Buntings & Banners. Fussy cut the banner. Apply foam tape to the back using 3D Foam Squares-White Variety Pack using the small size this time. The smaller squares are a perfect fit to place under each banner

Stick this under pendant just above the Fairy Ballerinas hands
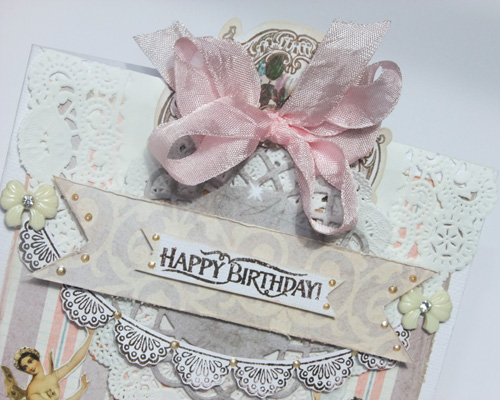
Stamp a sentiment on some scrap white cardstock in Brown ink. I have used Just Rite Clear Buntings & Banners (Happy Birthday). Fussy cut a small pendant around the stamped sentiment approx. 2.5X0.5″. Ink the edges. Apply 3D Foam Squares- White Variety Pack using the smaller size

Stick this on top of the larger pendant
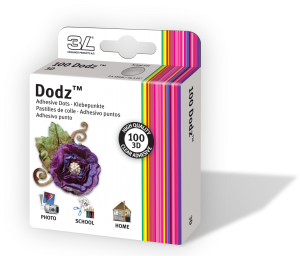
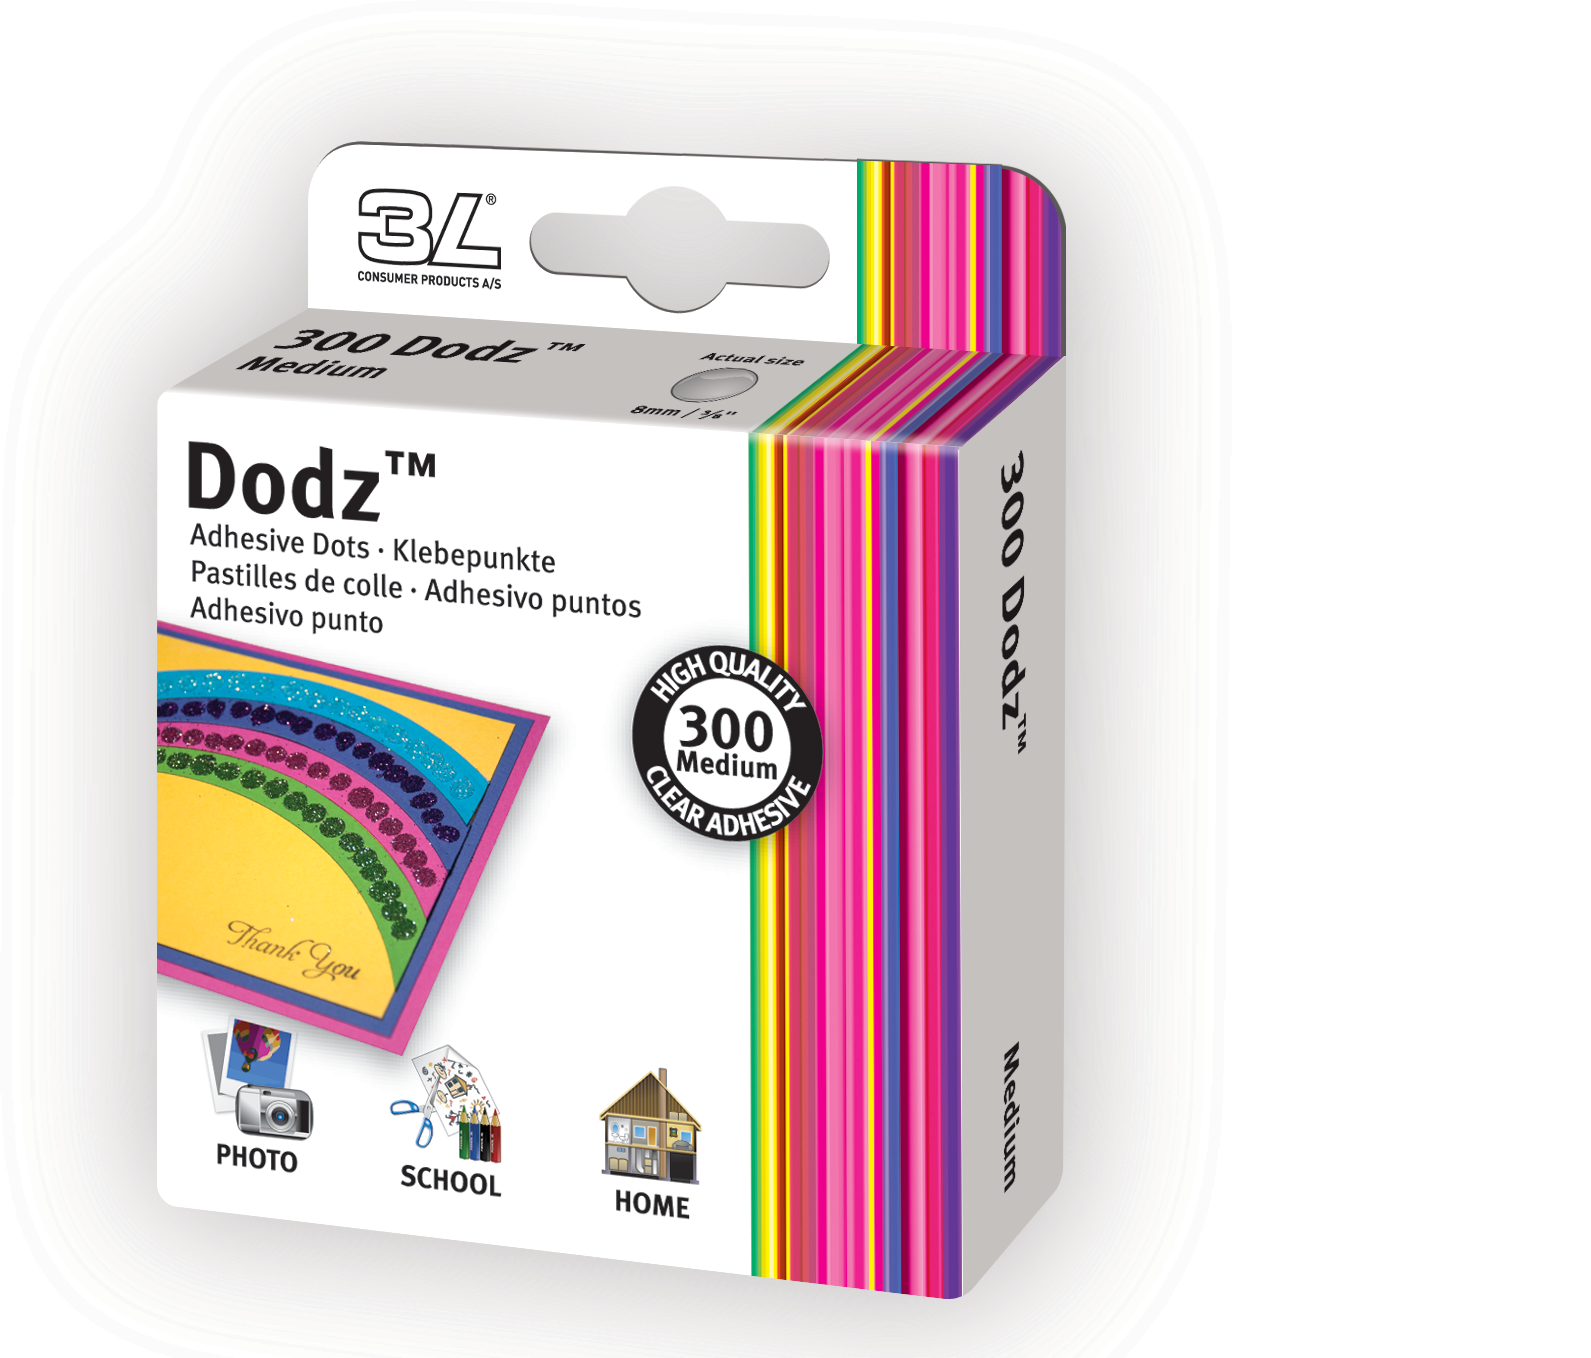
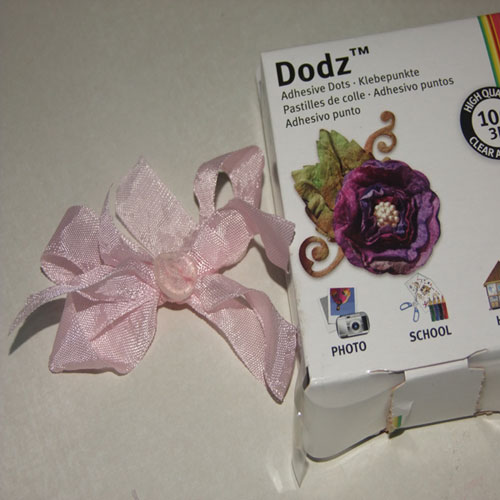
Finish decorating card. I have used Jenni Bowlin bows in cream on either side of pendant. They are self adhesive but to make sure they stay down I have used Dodz Small on each bow. Use Liquid Pearls on pendants & banner
Tie a bow with seam binding. Apply Dodz 3D in centre of Bow & stick down at top of card

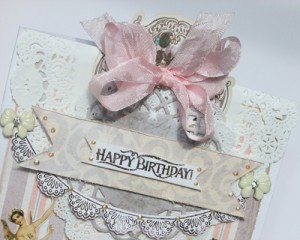
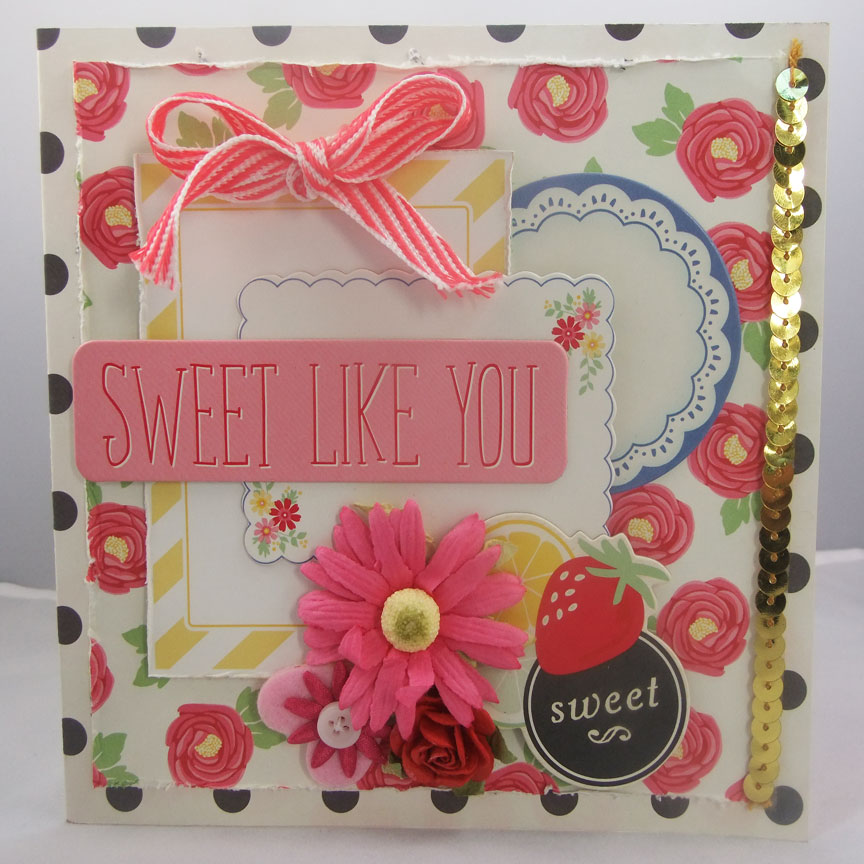
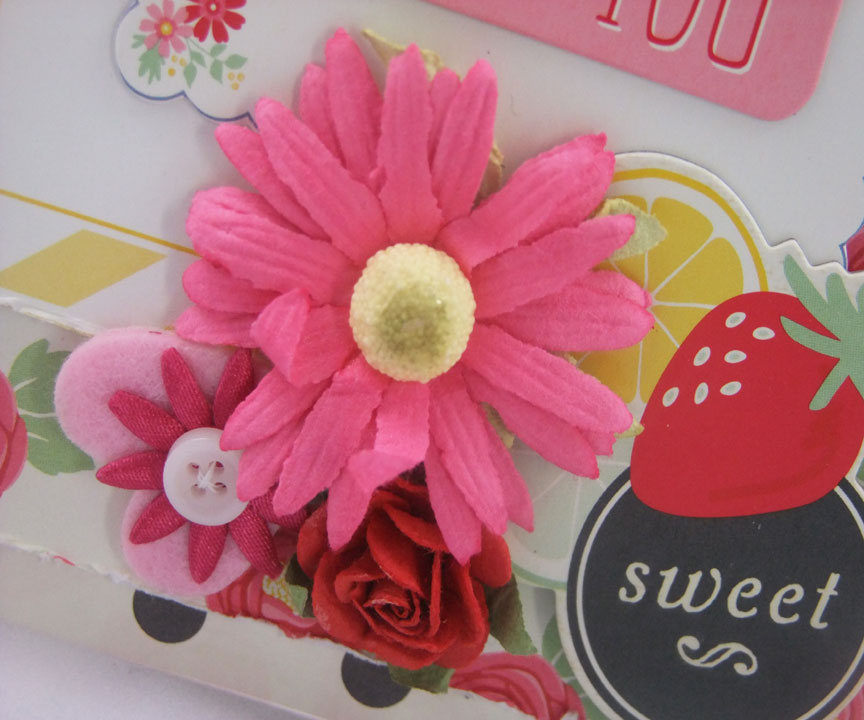
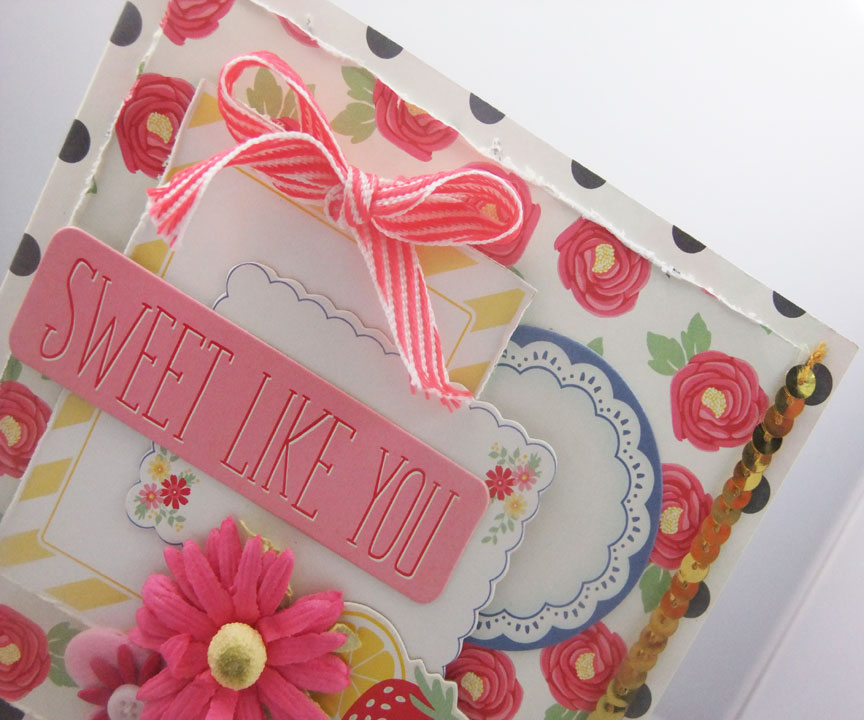
& now you have a shabby chic card with lots of layers & dimension! Here are some closeups


Dodz Small Dodz 3D Adhesive Sheet 4 x 6"
3D Foam Squares White Mix Crafty Foam Tape White 13" E-Z Runner Permanent Strips Refillable dispenser
E-Z Runner Permanent Fine
Other Supplies Used
Prima Fairy Belle Paper
JustRite Clear Stamps
Ranger Ink Liquid Pearls
Jenni Bowlin Bows
Megs Garden Doilies

Thanks for looking!